Installing My Nest Learning Thermostat

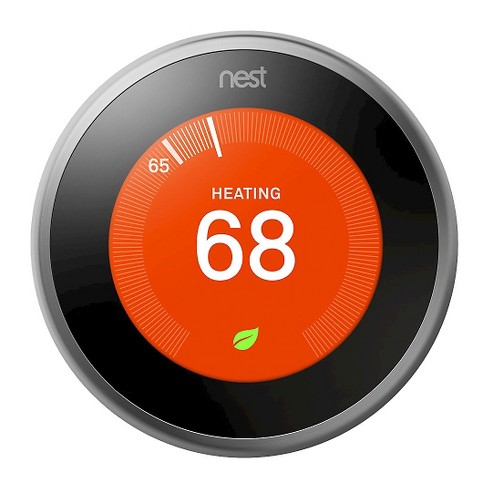
Santa brought us a Nest Thermostat this year for Christmas and life finally was kind enough to provide me some time to install it this afternoon. I’ve been looking forward to doing so as the product has fascinated me for quite some time and the installation process didn’t do anything to dampen my interest. From the packaging to the hardware to the user interface it’s Apple DNA is readily apparent. It even correctly guessed my Nest account (that I’d setup previously) when I was getting it hooked up to the Internet! It just works.
The actual installation process was pretty easy. Just documented what the 2 electrical wires were hooked up to in my previous Honeywell unit, popped the old unit off the wall by undoing it’s 2 screws, attached the Nest plate to the wall with 2 new screws, and then hooked the 2 electrical wires up to their well marked new connections in the Nest. After that it was just like setting up a new iOS device.
We’ll see if it actually does end up saving us money on our monthly utility bills once it “learns” our patterns. I have to admit that I don’t think I’ll mind if it doesn’t. It’s appearance and ease of use compared to the old standard Honeywell model are much more striking than I even originally thought they’d be. It’s hard to believe a thermostat can be this exciting!